This website uses cookies so that we can provide you with the best user experience possible. Cookie information is stored in your browser and performs functions such as recognising you when you return to our website and helping our team to understand which sections of the website you find most interesting and useful.

As new information is learned about coronavirus and how it is contracted, experts are now encouraging all Americans to wear facial coverings in public in an effort to curb the spread of the disease.
According to the Centers for Disease Control and Prevention (CDC), which released new guidelines regarding face mask usage this week, individuals should consider wearing “cloth face coverings in public settings where other social distancing measures are difficult to maintain,” such as grocery stores or pharmacies.
“CDC also advises the use of simple cloth face coverings to slow the spread of the virus and help people who may have the virus and do not know it from transmitting it to others,” the health agency states.
However, as before, the CDC is encouraging people not to purchase or use professional-grade medical masks - as “those are critical supplies that must continue to be reserved for healthcare workers and other medical first responders” - but rather to make their own masks from materials they have at home.
This is what you need to know about making a mask at home.
How can you sew a mask?
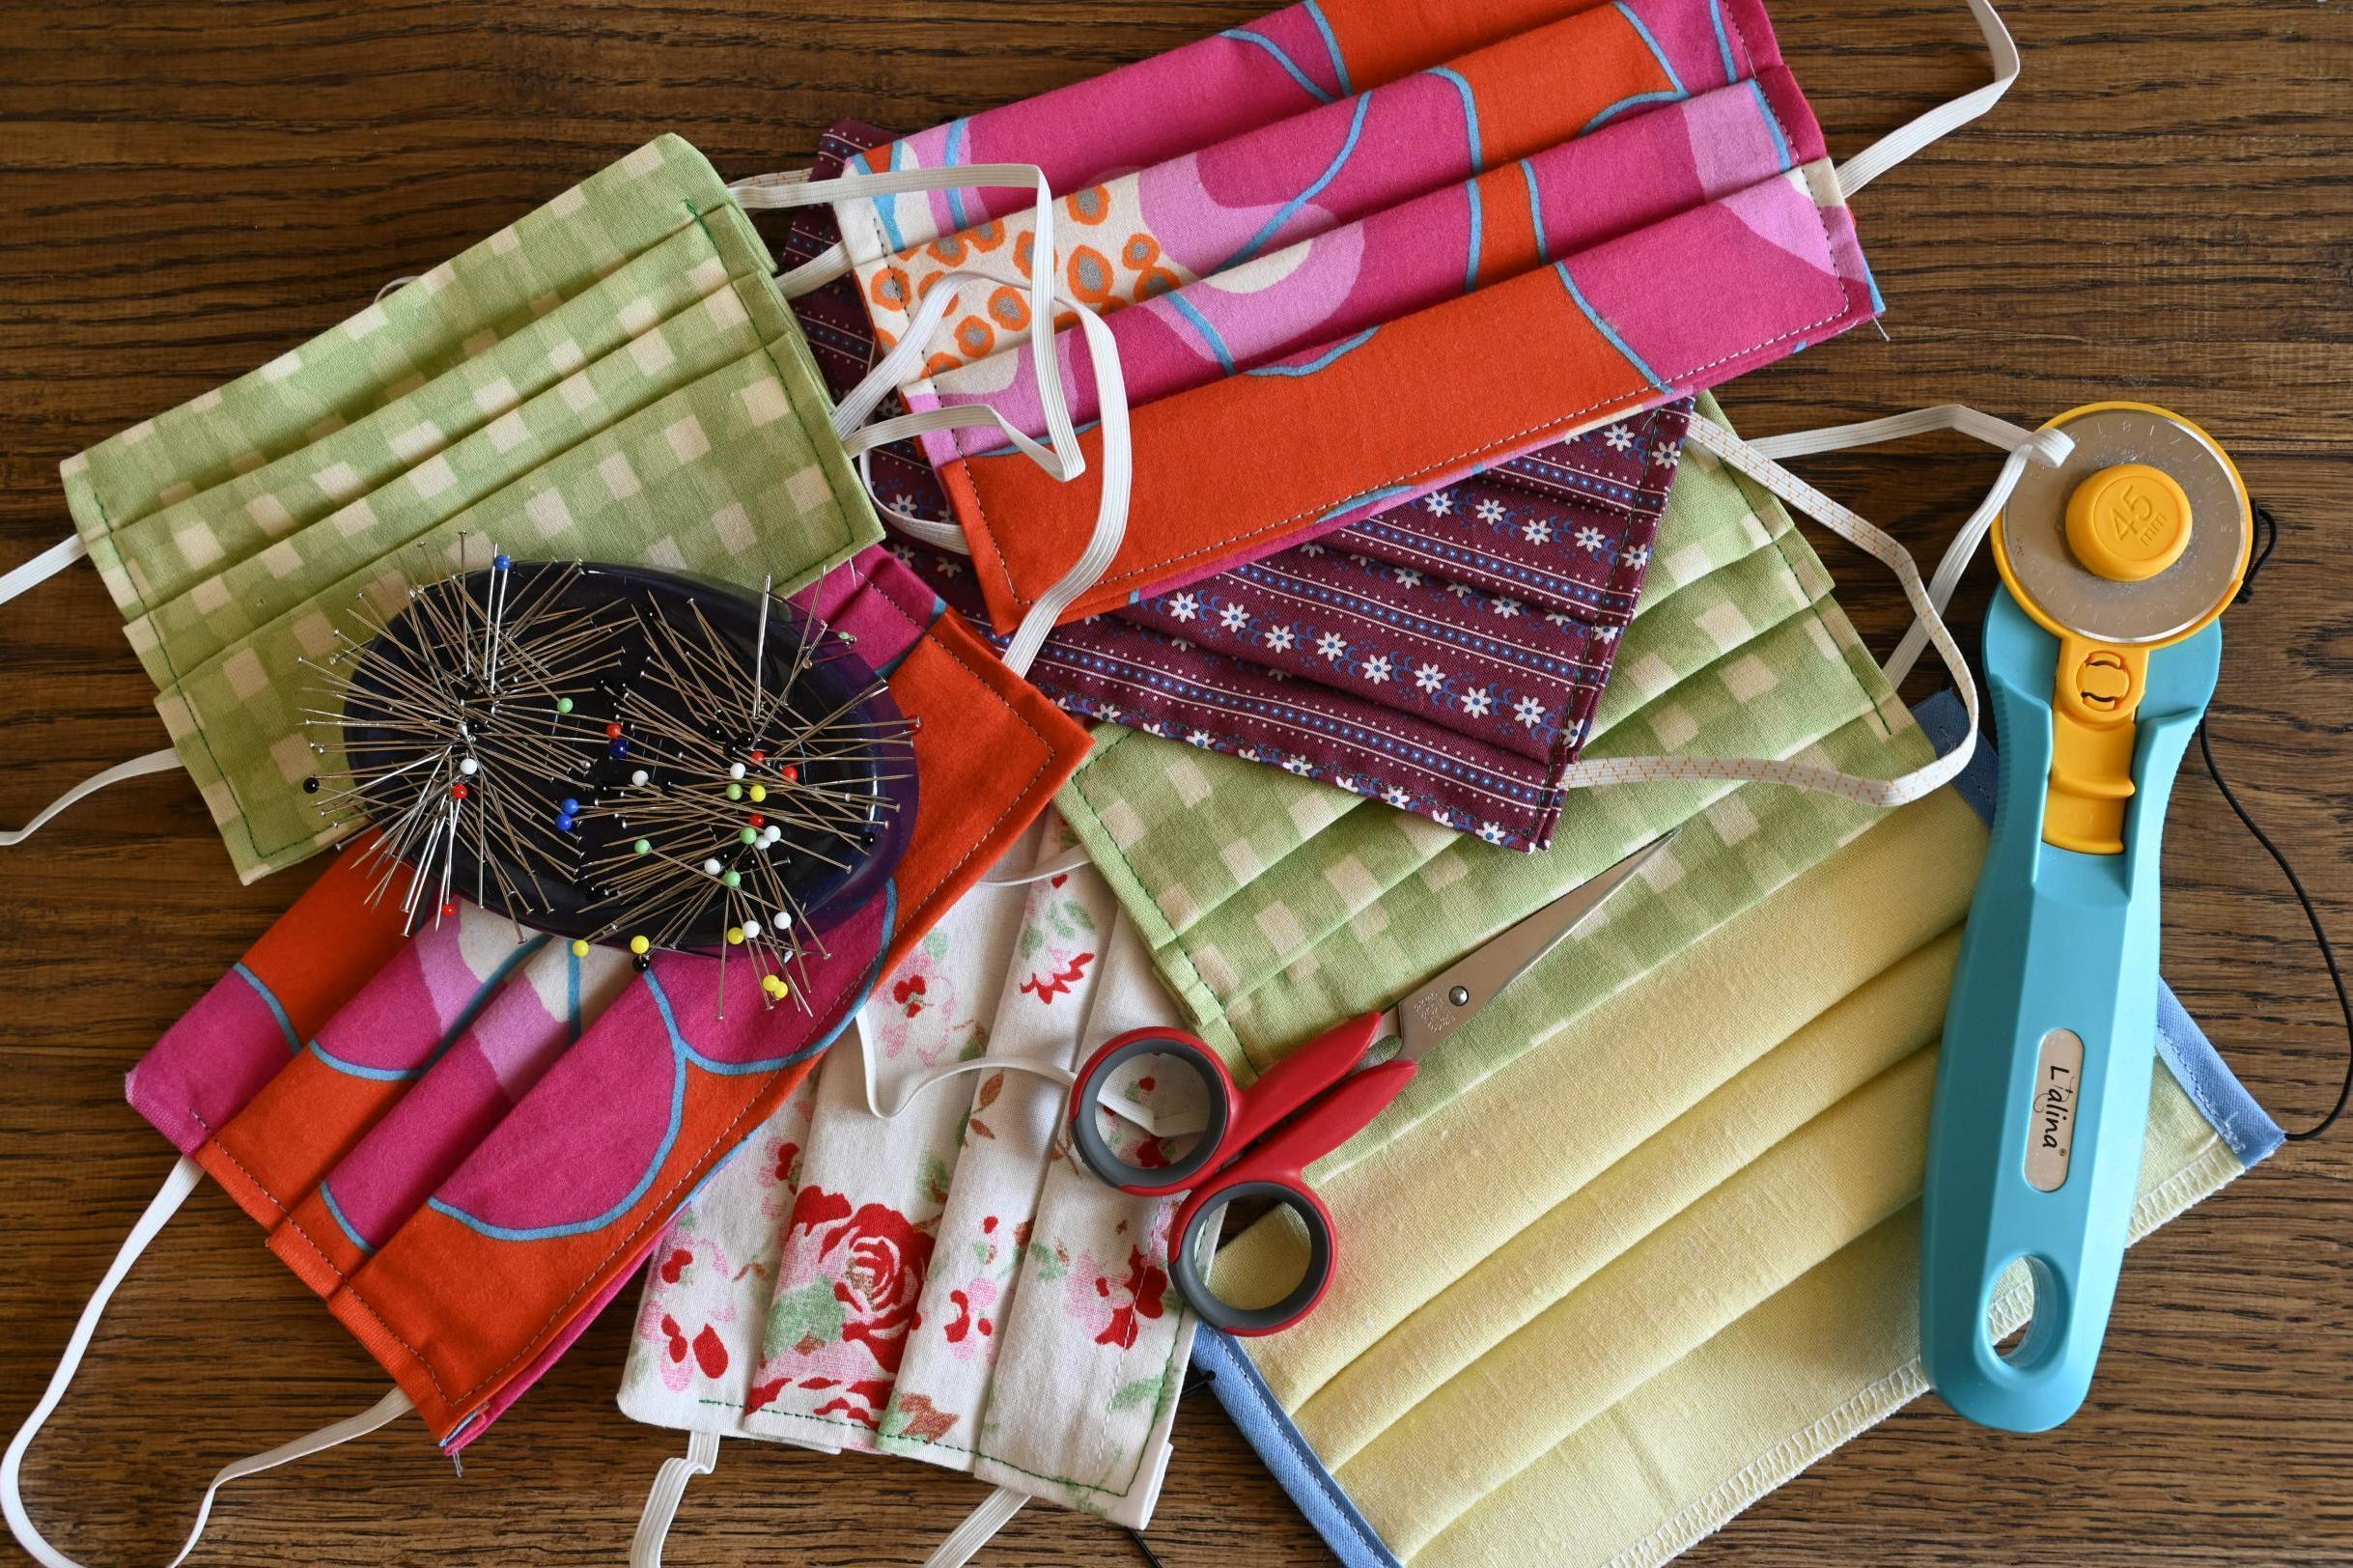
According to the CDC - which has shared face mask tutorials - to sew a facial covering, you need two 10in by 6in rectangles of cotton fabric, two 6in pieces of elastic, rubber bands or hair ties, a needle and thread, scissors and a sewing machine.
For the fabric, the CDC recommends using “tightly woven cotton, such as quilting fabric or cotton sheets”. However, if you have neither, an old T-shirt is fine.
Once you’ve cut the pieces of fabric, you should place them on top of one another and fold over the long sides 1/4in and hem.
After hemming the top and bottom of the mask, you fold over the sides 1/2in and stitch down.
The next step involves threading the elastic or hair ties through the hem of the wide sides of the mask on both sides and tying the ends tight, which will be used as the ear loops.
Once you’ve made elastic ear loops, you should pull the elastic until the knot is inside the mask, before gathering the sides of the mask around the elastic and adjusting the mask so it fits your face.
The final step involves stitching the elastic in place so it does not slip.
How can you make a mask without sewing?
If you don’t have sewing supplies on hand, the good news is they aren’t required to make an efficient face mask, according to the US Surgeon General Dr Jerome Adams, who shared a 45-second video showing how to make a facial covering using an old T-shirt and two rubber bands.
According to Dr Adams, you can also use items such as an old scarf, a bandanna, or hand towel if you didn’t want to cut up a T-shirt.
In the video, Dr Adams explains that you fold the rectangular-shaped fabric up from the bottom to the middle, and then do the same from the top to the middle, and then repeat the step.
After, you place one rubber band on one side and the other on the other side, which will serve as ear loops, before folding the ends of the fabric into the middle.
“It’s that easy,” Dr Adams concludes.
What else do you need to know about making an effective face mask?
According to the CDC, at-home face masks should fit “comfortably but snugly against the side of the face,” include multiple layers of fabric, allow for breathing without restriction, and “be able to be laundered and machine dried without damage or change to shape.”
The masks should also not be worn by children under the age of two.
How often should you wash your face mask?
Depending on frequency of use, the CDC says face masks should be “routinely washed”.
However, you can choose to make multiple masks so you don’t need to do laundry as often.


 Africana55 Radio

